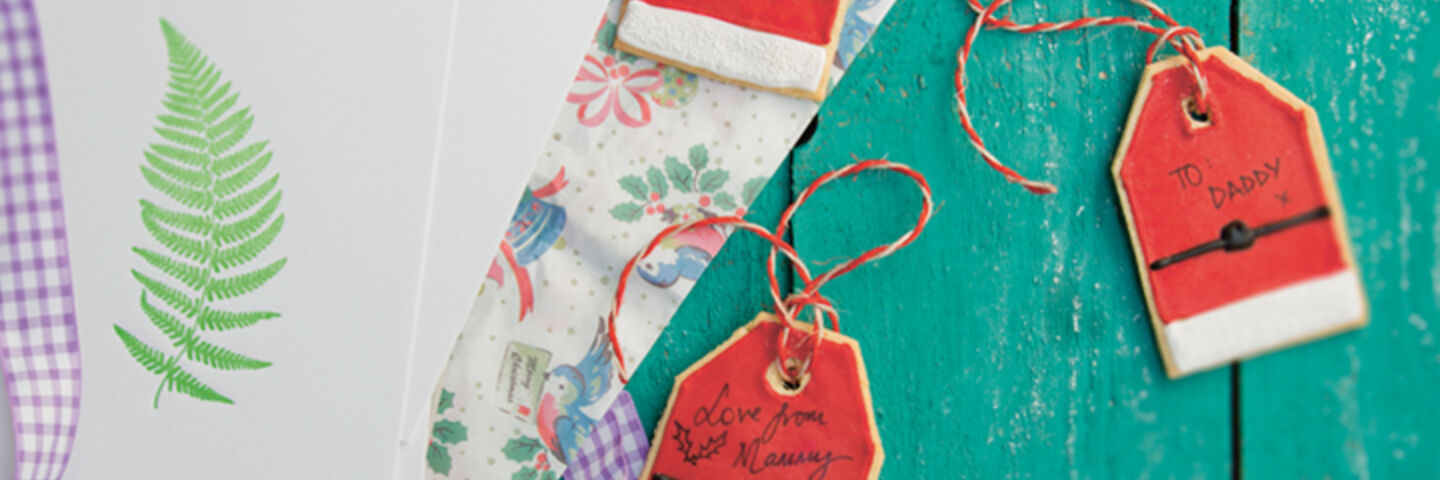
Message Tag Cookies for Santa
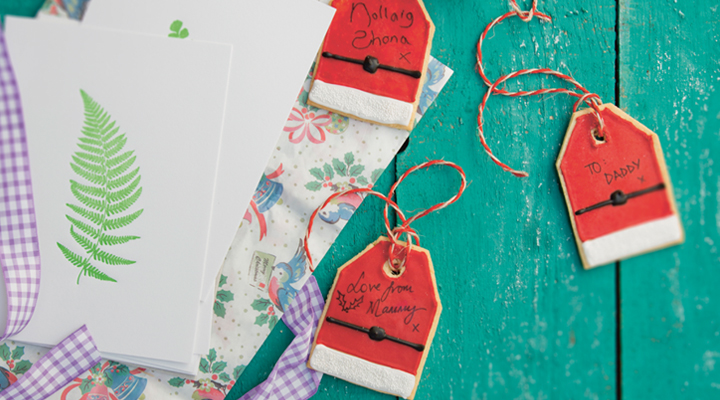

These can easily take up an afternoon when the kids are off school. The really fun part is the decorating, but it’s worth taking the time to make sure your icings are the correct consistencies. Once you have them working well, you will be very impressed by the finish and the fun you’ve had!
22 people
10 minutes
30 minutes
Ingredients
- 175 g Caster Sugar
- 1 - Fresh Egg
- 225 g Plain Flour
- 1 pinch Sea Salt
- 100 g Unsalted Butter softened
- 1 tsp Vanilla Extract
To Decorate
-
1
drop
Black Food Colouring
-
1
-
Edible Writing Pen
-
1
drop
Red Food Colouring
-
225
g
Royal Icing Powder
-
2
tbsp
Sugar Craft Snowdrift White Edible Balls
Method
*This recipe makes 22 cookies.
1. Beat the sugar and butter together in an electric mixer, then beat in the egg with a little flour. Add the remaining flour, the vanilla extract and salt and beat to combine to a smooth, soft dough.30
2. Divide the dough in half and shape into smooth balls. Flatten into discs, wrap in cling film and refrigerate for 30 minutes, until firm.
3. Preheat the oven to 180°C/gas mark 4.
4. Roll a disc of dough between two large pieces of parchment paper into a 21cm x 30cm rectangle about 3mm thick. Remove the top piece of paper and slide the bottom one and the dough onto a large baking sheet. Trim the edges of the dough to neaten to the required size, reserving the trimmings. Cut into nine 7cm x 10cm rectangles. Pull them apart on the paper to leave space between them for spreading. Pop them back in the fridge for a few minutes if they are becoming too soft to handle. Repeat with the second ball of dough.
5. Using a sharp knife, trim the corners of one short end to give each cookie a parcel tag shape. Use one end of a straw to stamp out a hole at this end of each one. Re-roll any trimmings to make about four more biscuits. Bake them for 8 to 10 minutes, until golden and just firm to the touch. Remove and leave to cool, then transfer to a wire rack once you can handle them. When completely cool, they are ready to decorate.
6. Place the icing powder in a large bowl with 35ml of water and whisk for about 5 minutes, until smooth and thick, about the consistency of toothpaste. Measure out 150g of the icing into a small bowl and add enough red food colour to make a vibrant red. Spoon 15g of icing into another small bowl and add enough black food colour to make it jet black. Spoon both of these into separate disposable piping bags as well as the remaining 60g of icing in another bag, which will stay white.
7. Snip the end of the red icing bag to make a 2mm opening. Pipe a thin line around the hole of each cookie, then pipe a border around the edges of each cookie, with the bottom line being about 2.5cm away from the base of the tag. Make sure there are no gaps so the inside colour doesn’t flow out. Let these lines dry for 5 minutes.
8. Squeeze the remaining icing back into the bowl and add 1 teaspoon of water to loosen it to a slightly more flowing consistency. Return to the piping bag and pipe it into the centre of the piped border to flood the inside. Help spread it around evenly with the tip of a cocktail stick.
9. The bottom part of the cookie, which now remains exposed, is to be filled in the same way using the white icing. After piping the border, loosen the remaining icing with ¼ teaspoon of water to flood the inside. Scatter the white edible balls over the white icing to stick before it sets.
10. Set the iced cookies aside for 20 to 30 minutes to crust over, then pipe the black icing in a few thin lines across the centre of the cookie to create Santa’s belt, adding a buckle in the centre if liked.
11. Preheat the oven to its lowest possible setting. Place the decorated biscuits in the oven to dry out for 30 minutes, until the icing is crisp to the touch with a good sheen. Finally, using the edible ink pen, write your message to Santa!